Because my experience with regard to the deployment and configuration of a Build vNext agent along side of my on-premise TFS2015RC test configuration which was everything but an easy walk in the park, I decided to share a little write-up about what I have discovered till today because it might be of value to anybody who wants to get started with the new build architecture of Team Foundation Server 2015
In this blog post I describe how to deploy and configure the build agent. In the second part I intend to describe the creation and configuration of a build definition. I already have a built up and running, it is just I currently don’t have the bandwidth available for the write-up.
This blog post refers to the experience provided by TFS2015 RC. Be advised today my experience with the new TFS build architecture is still limited. The guidance provided is just to get you started on this subject and is not intended for use in software development production environments.
Objective
The objective is to deploy a Build vNext agent on a dedicated build server, have the agent build get the latest version of the source code, retrieve required NuGet packages, build the application and drop the build result in TFS.
Context
My TFS2015RC environment consists has the following configuration:
| Server | Role |
| tfs14dc01 | Domain controller for the domain TFS14 |
| tfs14at01 | TFS2015RC application tier |
| tfs14dt01 | TFS data tier leveraging SQL Server 2014 |
| tfs14rm01 | TFS2015RC build server |
| Tfs14ws01 | Visual Studio Enterprise 2015 RC workstation |
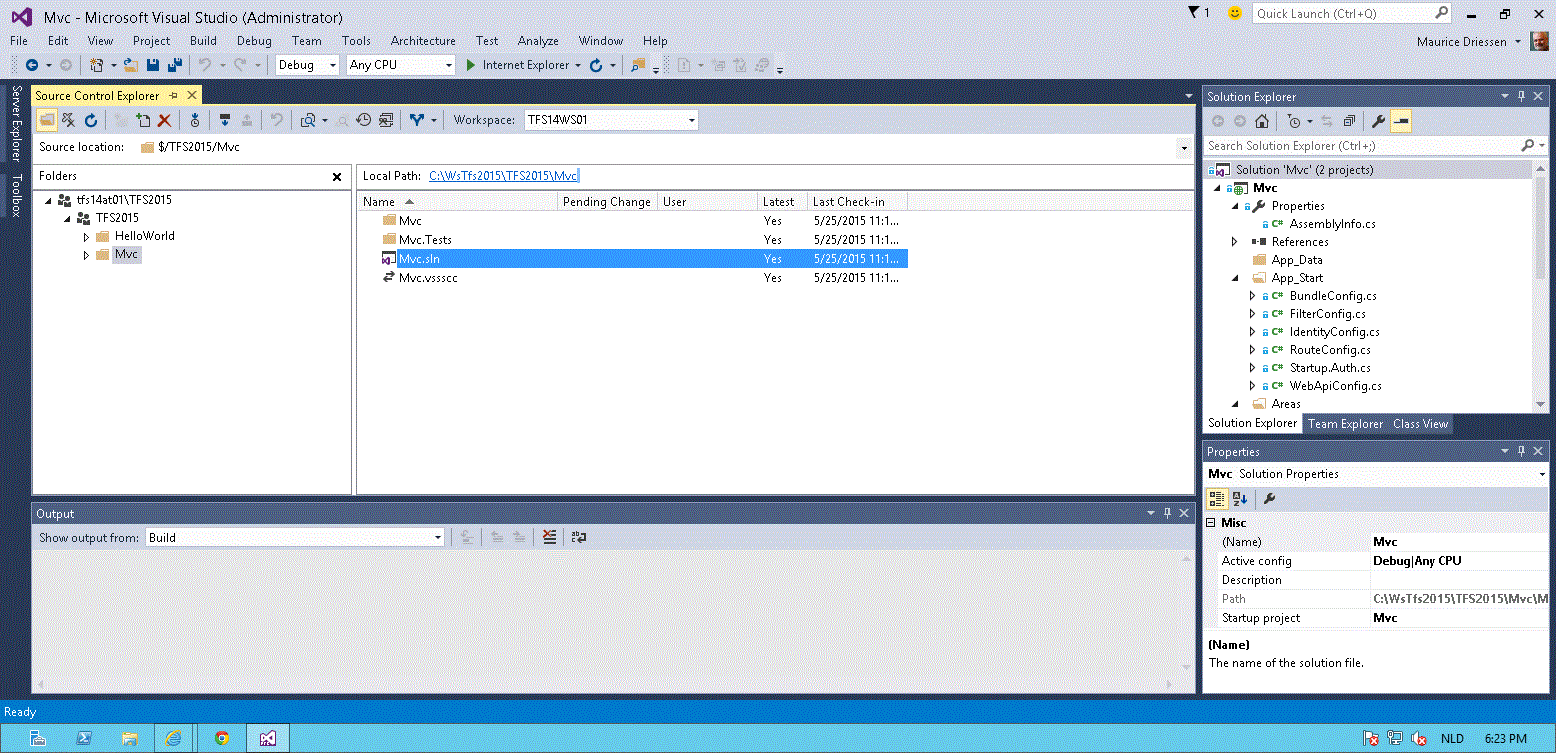
In TFS2015 I have created a Team Collection and Team Project, both with the name TFS2015, and submitted an out of the box C# Single Page Application web solution with the name Mvc to source control. Just to be clear on this point, the NuGet packages the solution depends on are not submitted to source control and need to be retrieved from NuGet.org during the build.
In source control the base folder for the solution is $TFS2015Mvc
1. Create Build service account
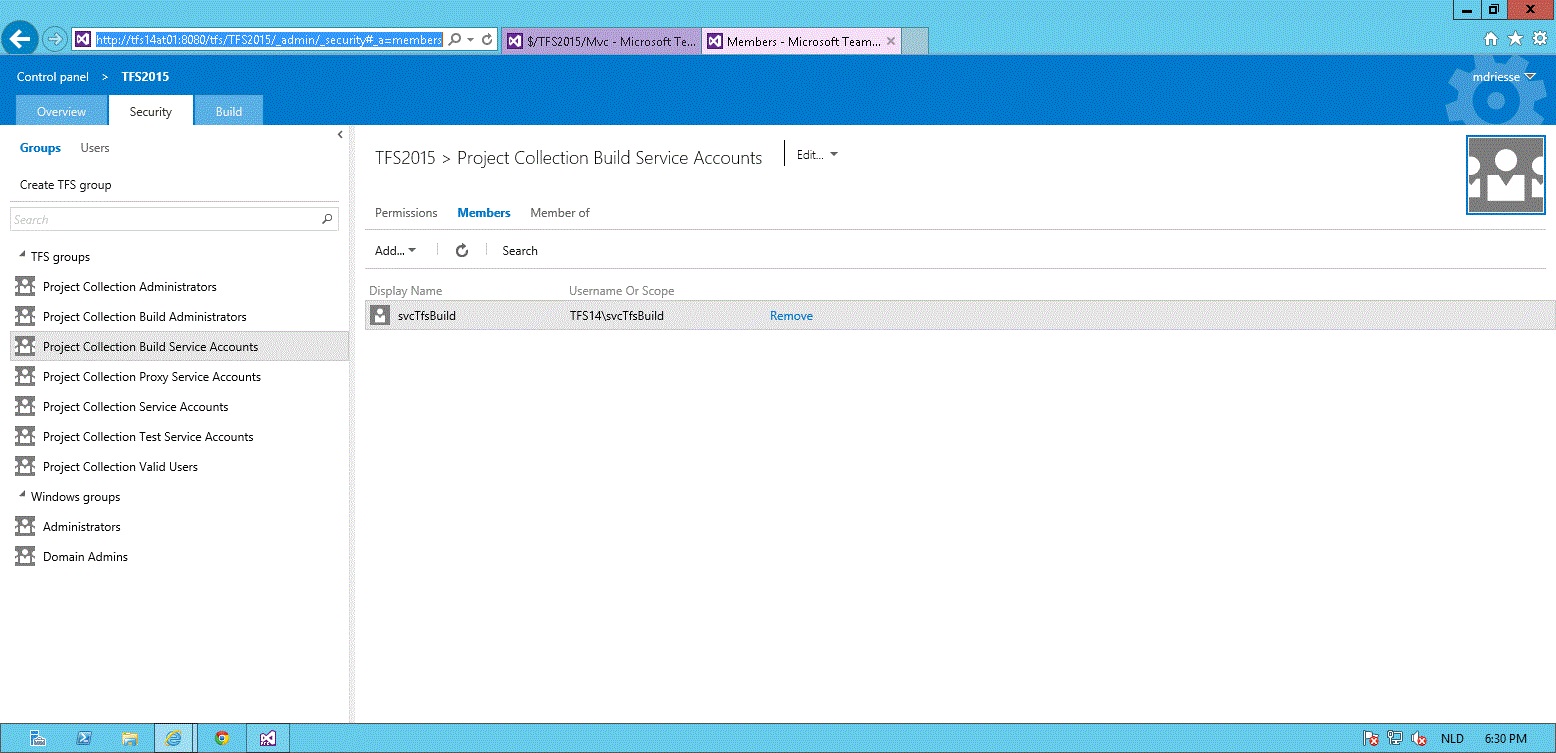
To be able to run the agent as a service I created a dedicated build service account on the build controller tfs14dc01. In this example this account is TFS14svcTfsBuild.
This build service requires authorization to access the solution in TFS Source control. To accomplish this I browsed to the Member page of the Project Collection Build Service Accounts on the Security Panel of the team collections control pannel and added the build service account as a member.
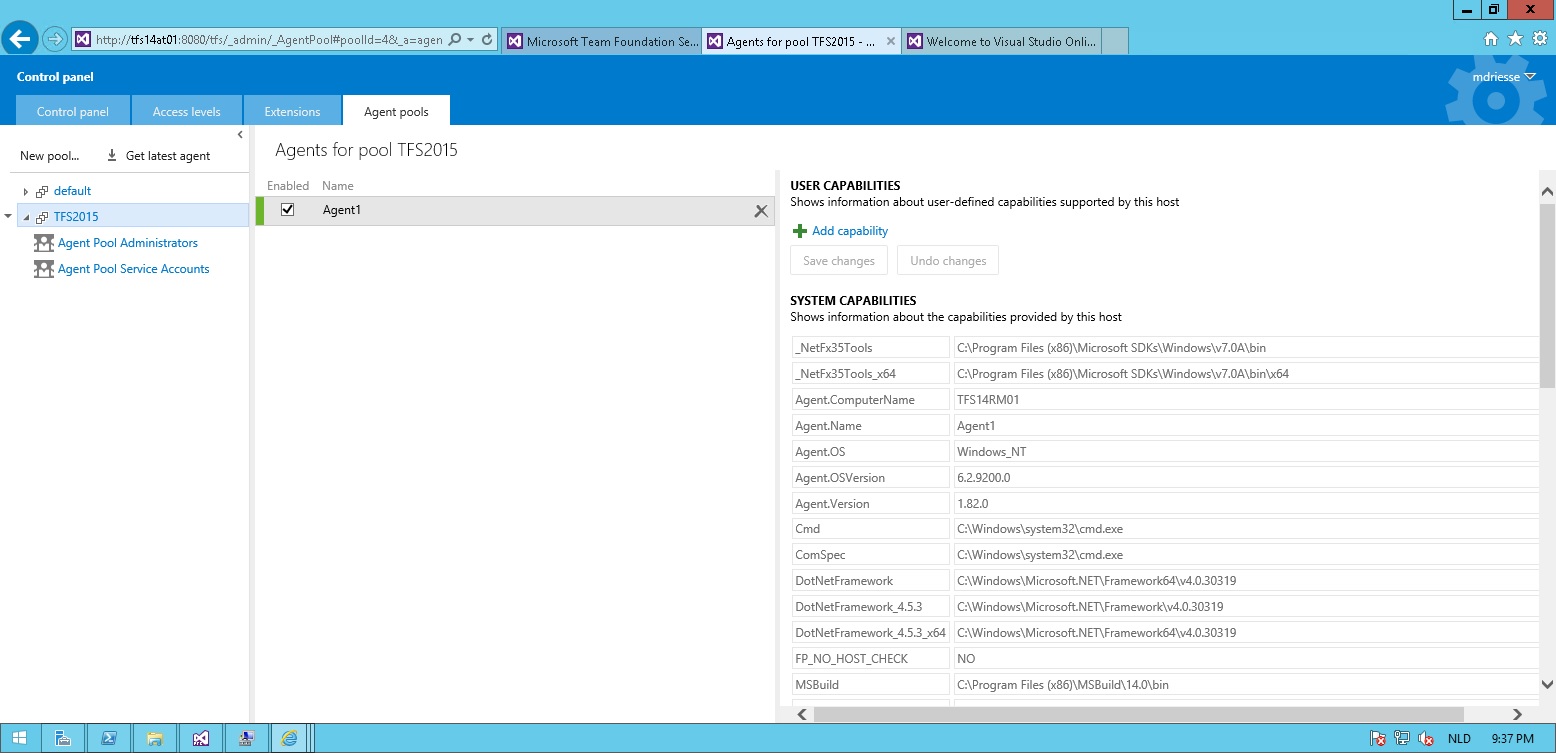
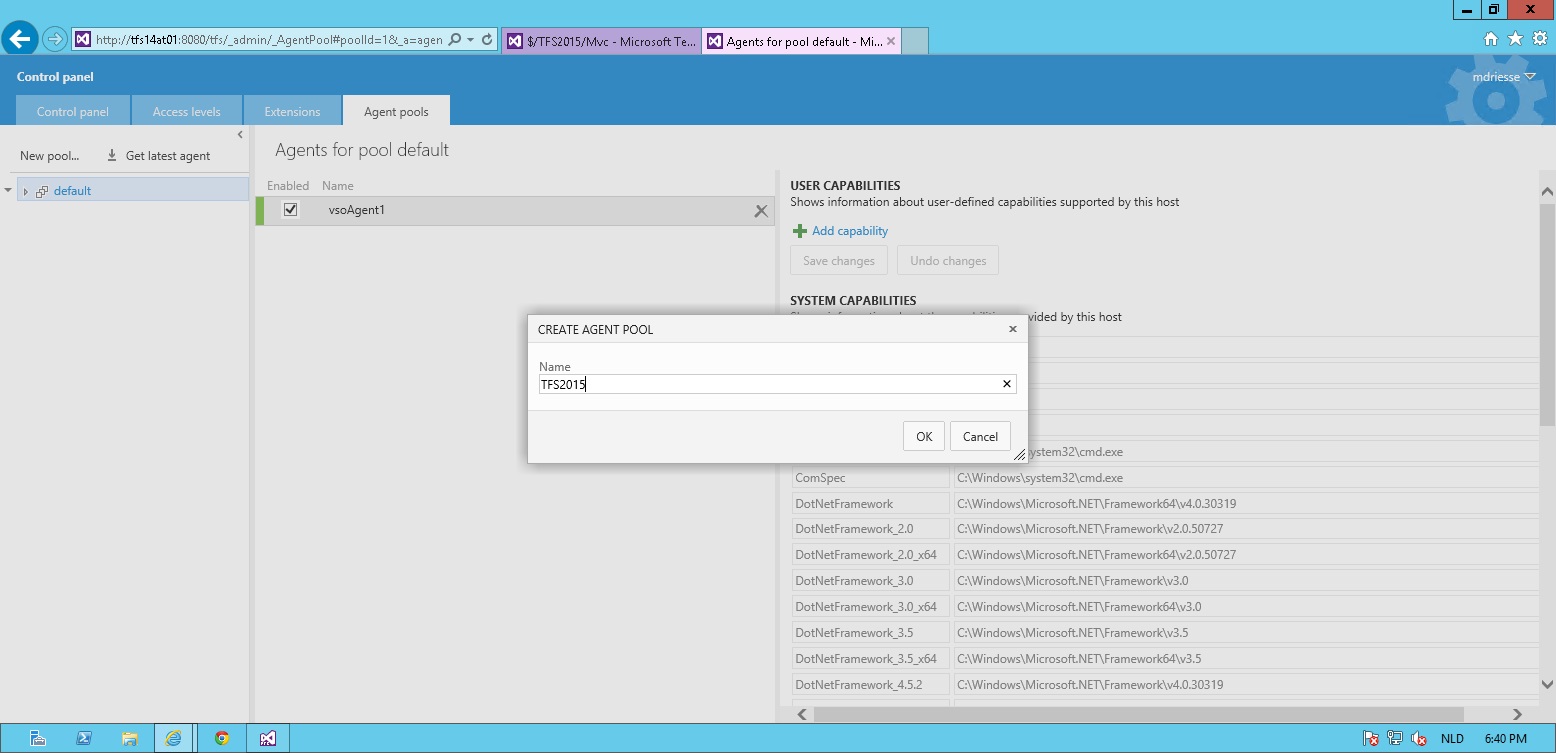
Because my solutions lives in the Team Project TFS2015, I decided to create a dedicated build pool for this team project. To accomplish this I browsed to the Agent Pool tab on the root of the control panel and created a new Agent Pool with the name TFS2015.2. Build pool configuration.
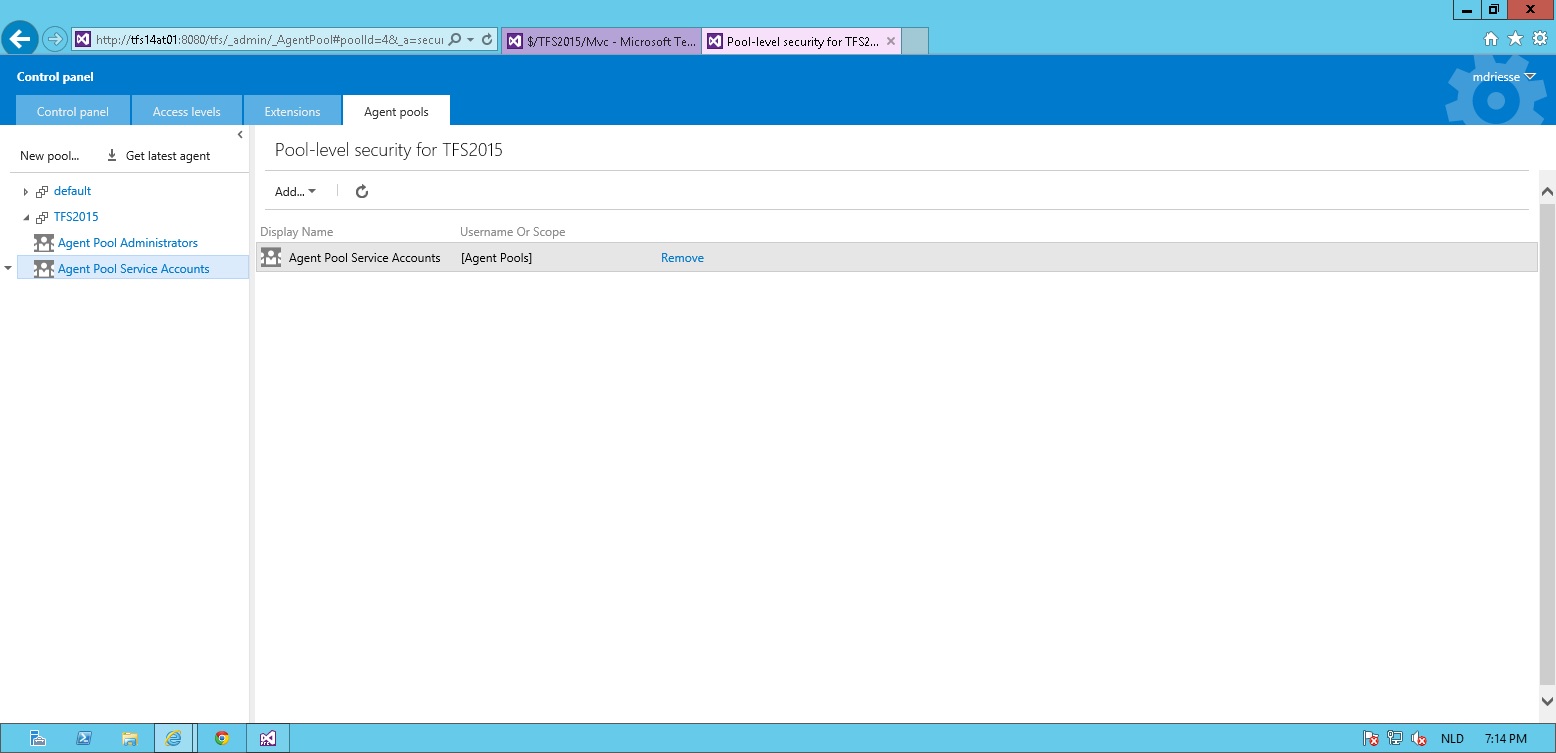
Next step is to expand the new Agent Pool in the tree explorer, select the Agent Pool Service Account in the tree explorer and double click on the Agent Pool Service Accounts group in the main window. A window pops up and in this window I added the build service account to the group.
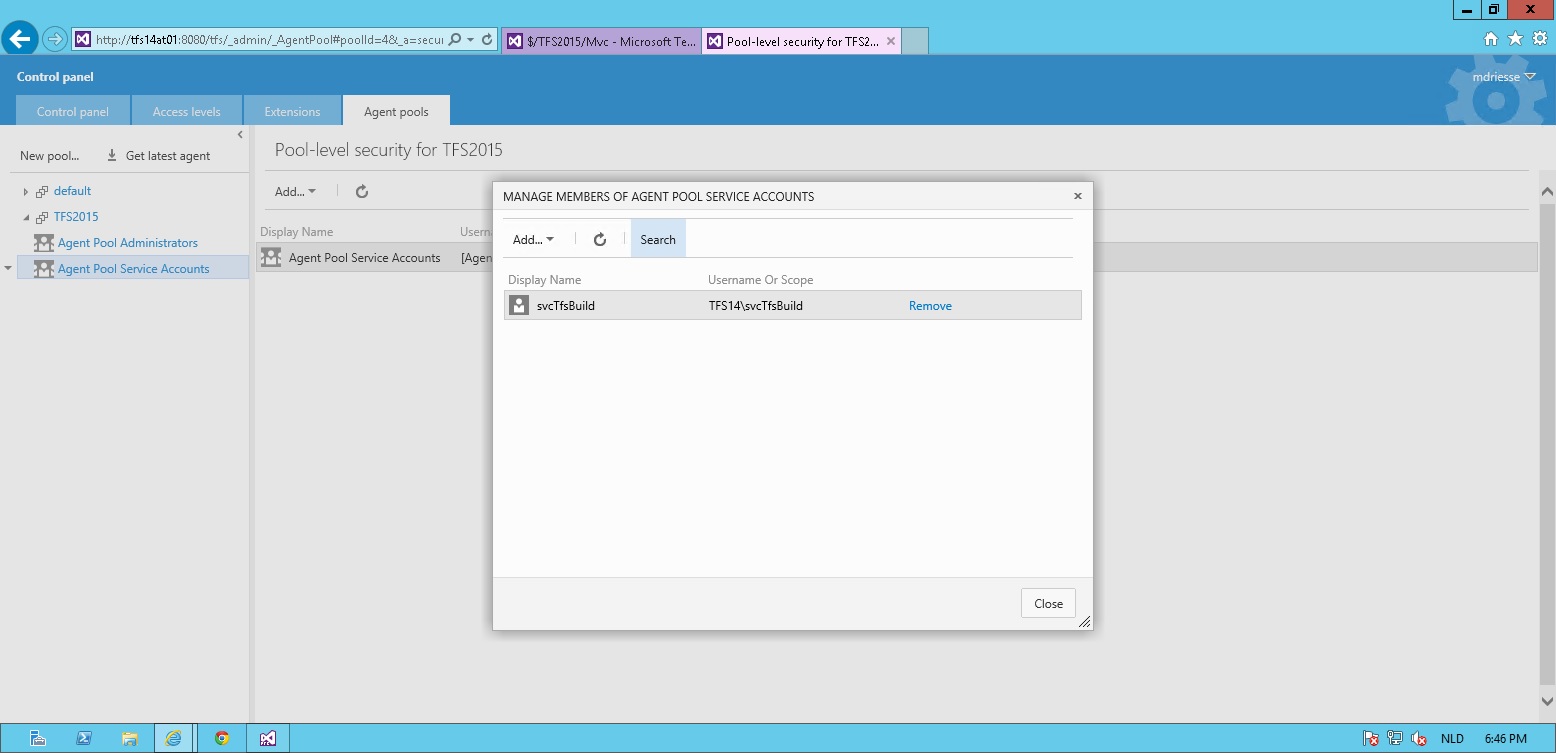
You need to be a bit cautious here. With the above approach my build service account has been added to a group, which members are authorized to act as agent pool service accounts for all build pools. This fits my personal requirements, as I am planning to reuse the same service account across all my build pools. However if you just want to authorize the build service account for this specific build pool, you should add your build service account directly to the pool-level security list by clicking the Add button in the main window.
3. Avoid the Build vNext Agent provided with TFS2015RC
With the previous 2 steps completed we are all set to install and configure the Build vNext Agent. This step actually required some time and effort to figure out and complete successfully.
4. Get yourself a Visual Studio Online account
If you would follow the current guidance from Microsoft on your build server you would browse to the Agent Pool configuration screen of your TFS server and hit the Get Latest Agent button above the Build Pool explorer. This provides you with the version of the build vNext Agent installation package which was shipped with TFS2015RC. I ventured off this path only to discover the package still has tons of issues, which is to be expected for a preview. After trying to resolve all the issues, with not much success I must say, I was about to quit my investigation of the new build architecture. At the same time Microsoft announced the new build architecture was released for public preview on Visual Studio Online. Taking an educated guess the build agent provided on VSO, would most likely be an improved version, I took a gamble and decided to continue my effort with build agent available on VSO. I don’t know for sure if with this approach I inadvertently opened up a can of worms, but at least, as you will see, till date the approach turned out to be the road to success.
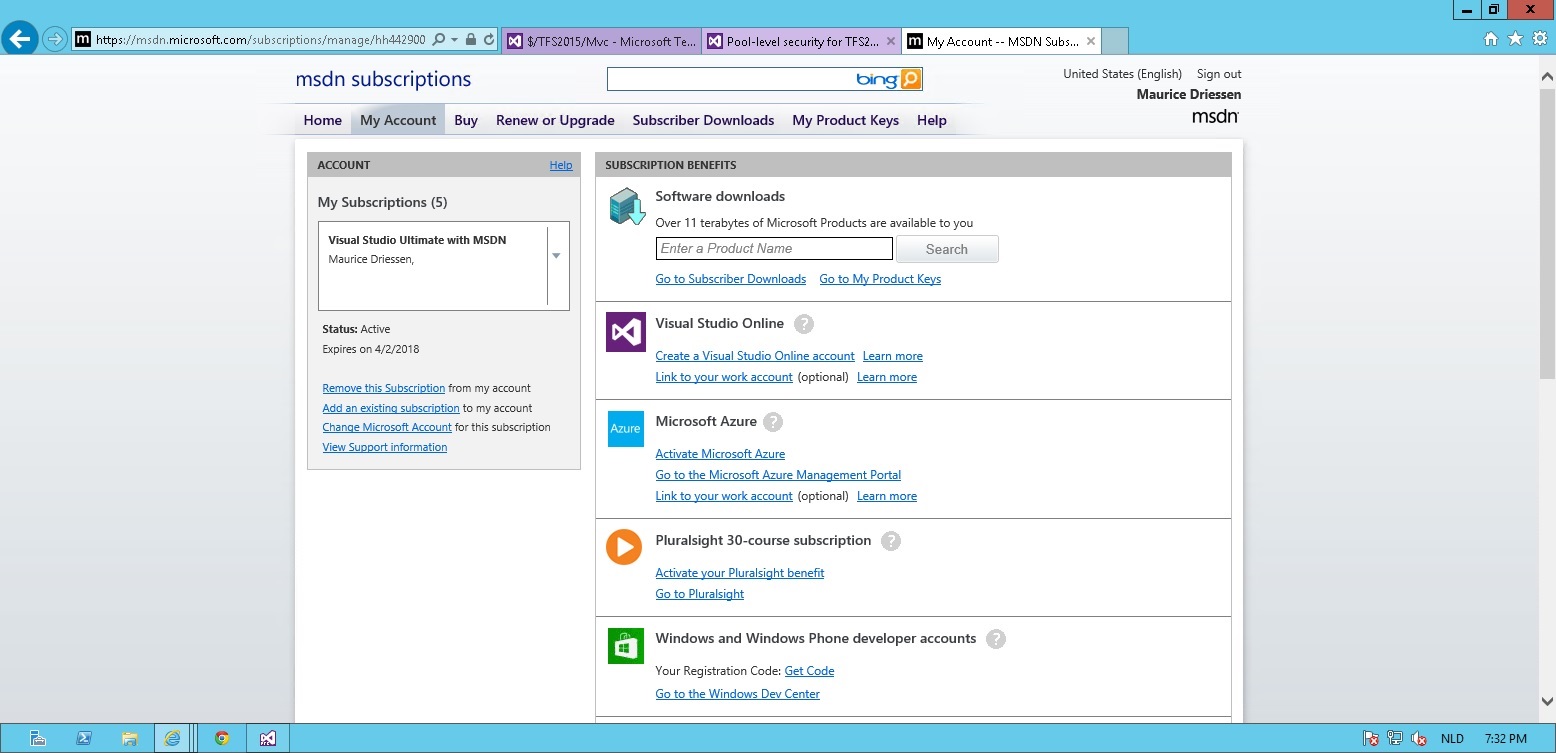
To be able to complete this step you do require access to Visual Studio Online. Considering I expect most of my readers to have an MSDN subscription with one of the benefits provided being a Visual Studio Online account, I trust you will be able to figure out yourself how to setup a VSO account.
5. Prepare build server
To run the build agent it is currently required to install Visual Studio 2013 of 2015 on the build server. You will also need to have PowerShell 3 or newer available.
6. Authorization for build service account on build server
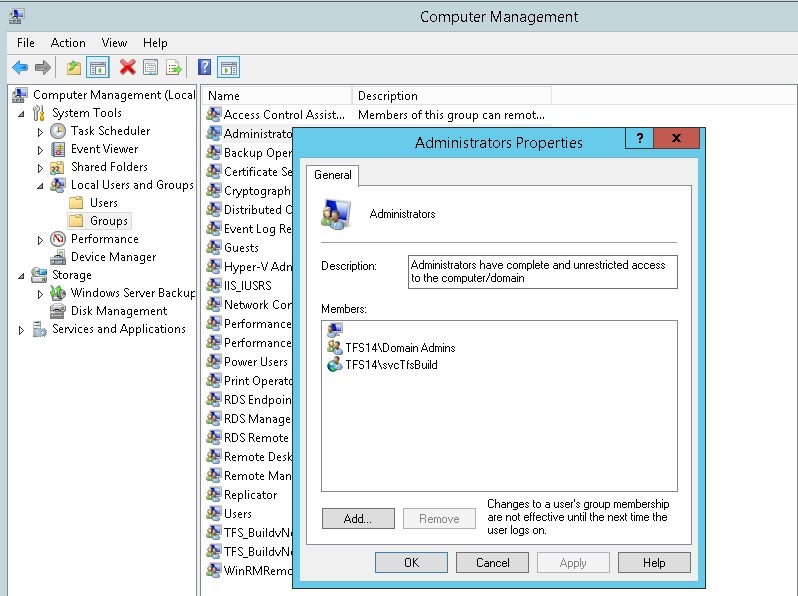
Because I ran into all kinds of authorization issues with the build service account when trying to get the build to run, at some point in time I decided to provide the build service account with System Administration privileges on the build server. To accomplish this added the build service account to the local Administrators group of the build server with Computer Management.
7. Download Build vNext Agent from VSO
Obviously, considering it is possible to trigger a PowerShell script during the build, this authorization puts you build server at risk for malicious scripts. I definitely need to revisit this configuration at a later date and investigate how the build service account can be locked down by providing just enough authorizations.
It is about time to head down to Visual Studio Online to get a copy of the build agent. On the build server browse to the Agent Pools tab on the Control Panel of your VSO subscription available at URL https://{youraccount}.visualstudio.com/DefaultCollection/_admin and click Download agent to download the agent.zip file containing the agent. Safe the zip to disk.

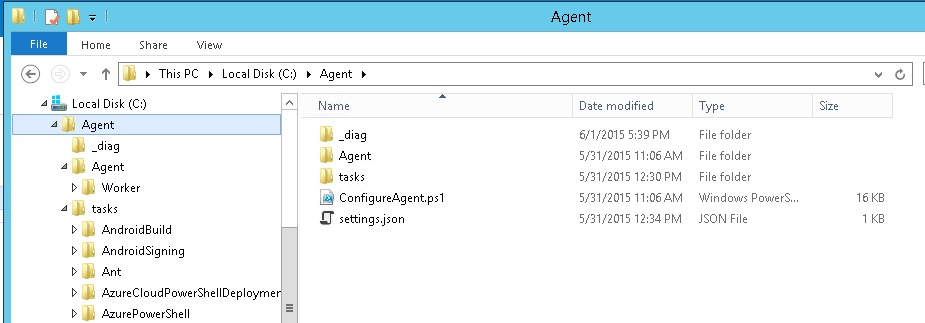
I decided to unzip the downloaded file to the directory c:Agent, which provides the directory structure shown in the picture bellow. I recon this structure will be subject to change as the agent evolves in future releases.
8. Configure PowerShell environment
(I grabbed the guidance in this paragraph from https://msdn.microsoft.com/library/vs/alm/build/agents/windows , section “Download and configure the agent for Visual Studio Online” which you might just want to check for an update)
- Run PowerShell as Administrator.
- Enable PowerShell to run downloaded scripts signed by trusted publishers:
Set-ExecutionPolicy RemoteSigned
- Disable strong name signing. Make sure to run both versions. (Applies only if you downloaded the agent software. We expect to eliminate this step when we ship the RTM version.)
 C:Program Files (x86)Microsoft SDKsWindowsv8.2AbinNETFX 4.5.3 Toolssn.exe -Vr *,*
C:Program Files (x86)Microsoft SDKsWindowsv8.2AbinNETFX 4.5.3 Toolsx64sn.exe -Vr *,* - Change to the directory where you unziped the agent.
cd c:Agent
- Unblock the PowerShell scripts.
Get-ChildItem -Recurse * | Unblock-File
You can skip the paragraph the next time you configure the agent.
9. Configure the build agent
While you are still in the PowerShell as Administrator in the directory c:Agent execute the following command:
.ConfigureAgent.ps1
The build agent’s PowerShell configuration script will kick off and it will ask you to provide input for following questions:
Enter the name for the agent?
Respond with: Agent1.
Enter the url for the Team Foundation Server?
In my case I responded with: https:// tfs14at01:8080/tfs/
Configure this agent against which build pool?
In my case I responded with : TFS2015, refering to the build pool created in section 2.
Enter the path of work folder for this agent?
I my case I responded with c:agent1.
This will create a subdirectory which will contain the file work space for the build agent.
Would you like to install the agent as a Windows Service? (Y/N)
I responded with Y.
Enter the name of the user account to user for the service? (default is NTAUTHORITYNetwork)
I responded with my build service account: tfs14svcTfsBuild.
Next you will be prompted for the password of the build service account.
Next question will be if you would like to unconfigure any existing agent(Y/N).
Just respond with N and the configuration script will start with the actual configuration of the agent.
You do want the read the messages
“Configure agent succeeded. Agent is running as a Windows Service.
10. Check result
If you want to check if the agent indeed registered correctly with TFS, just head down to the Agent Pool s tab on the Configuration Panel of your TFS server. In the TFS2015 pool you will see Agent1 listed with a green bar at the left, indicating the agent is available and in good health.